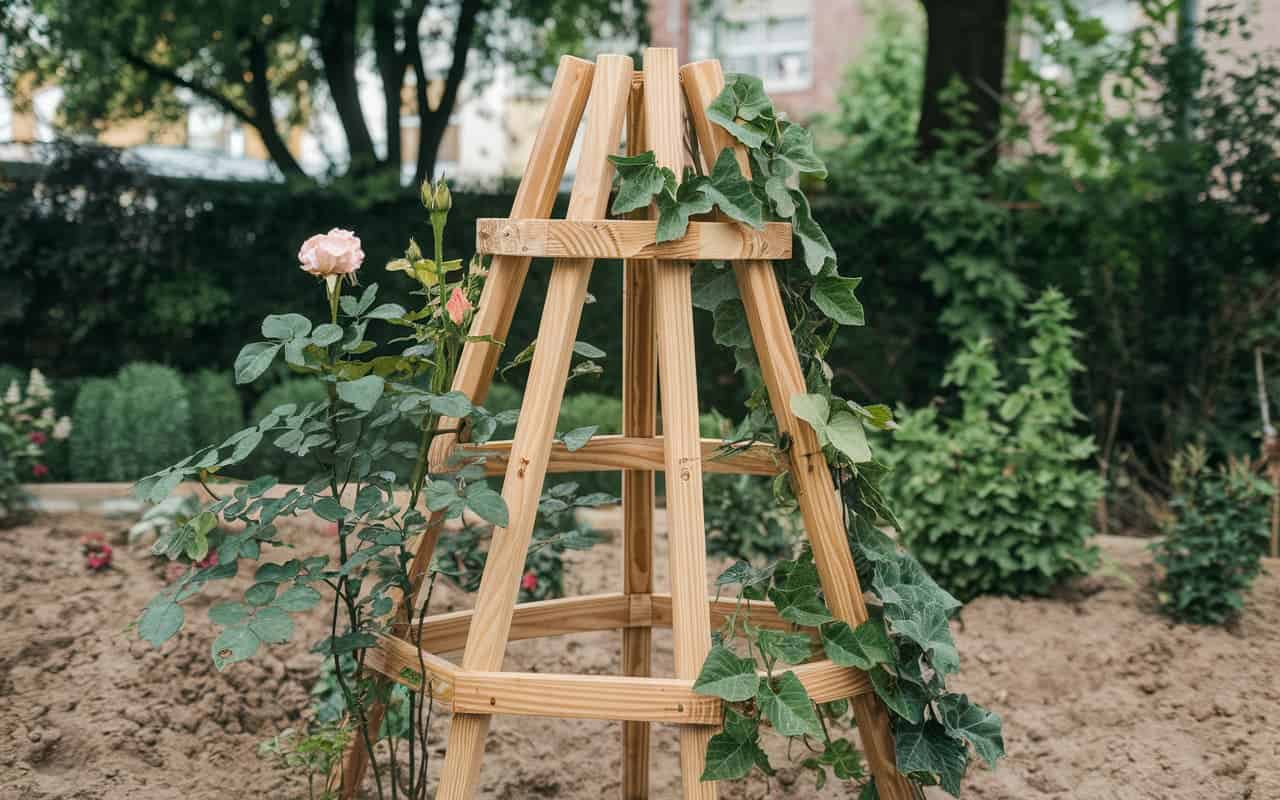
Crafting a Garden Obelisk for Climbing Plants
Creating a garden obelisk can transform your outdoor space, providing a stunning support structure for climbing plants while adding an architectural element to your garden. This guide will walk you through the materials, tools, and steps required to build your own obelisk, as well as tips for planting and maintaining climbing plants.
What is a Garden Obelisk?
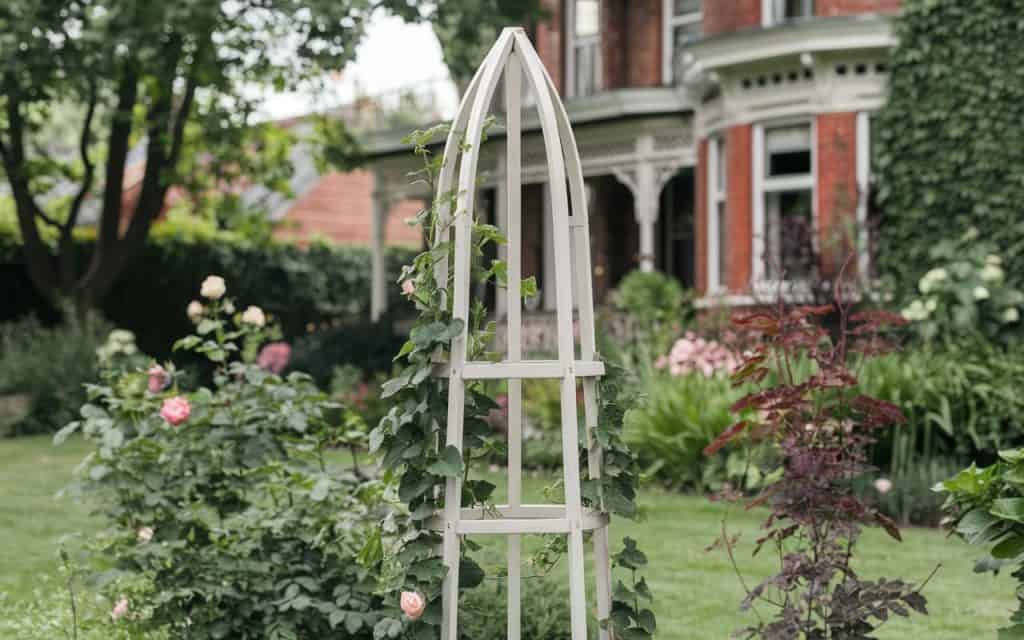
A garden obelisk is a tall, four-sided structure that tapers towards the top, designed primarily to support climbing plants. Traditionally made from wood, metal, or bamboo, these structures not only provide support but also create a vertical element in the garden, enhancing the overall aesthetics. Obelisks can serve as focal points or enhance the beauty of pathways, patios, and garden beds.
Benefits of Using an Obelisk for Climbing Plants
Using an obelisk offers several benefits for your garden:
- Space Efficiency: Vertical gardening helps maximize space, especially in smaller gardens, allowing you to grow more plants in a limited area.
- Improved Air Circulation: Climbing plants benefit from better air circulation, reducing the risk of diseases.
- Enhanced Visual Appeal: An obelisk adds height and structure to your garden, creating a visually pleasing design element.
- Easier Harvesting: Climbing plants are easier to manage when they are elevated, making harvesting simpler.
Materials Needed
Before you start crafting your garden obelisk, gather the following materials:
- Wood or Metal Posts: Choose sturdy materials like cedar, pressure-treated lumber, or galvanized steel for durability.
- Wood Glue or Screws: Depending on your construction method, use appropriate fasteners to secure the structure.
- Twine or Wire: This will be used to create a lattice for climbing plants.
- Wood Sealant (if using wood): Protect your obelisk from moisture and decay.
- Optional Paint or Stain: Customize the look of your obelisk.
Tools Required
You’ll need some basic tools to build your obelisk:
- Measuring Tape: For accurate measurements.
- Saw: A hand saw or power saw to cut the wood or metal to size.
- Drill: For making holes and securing screws.
- Level: Ensures your obelisk is straight and balanced.
- Paintbrush (if painting or sealing): For applying any finishes.
Step-by-Step Guide to Building Your Obelisk
Step 1: Planning Your Design
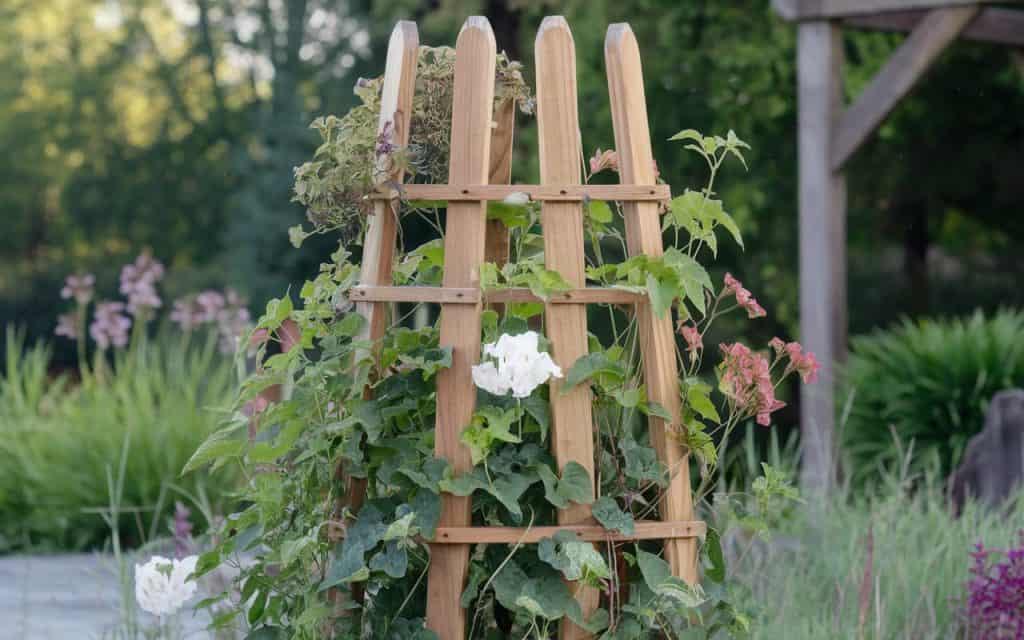
Before diving into construction, sketch out your design. Consider the height and width of the obelisk, as well as how it will fit into your garden space. Typical dimensions are around 5 to 7 feet tall and 1 to 2 feet wide at the base.
Step 2: Preparing the Materials
Once you have your design, prepare the materials by cutting them to the required lengths. For a basic obelisk, you’ll need four vertical posts for the corners and several horizontal pieces for the cross bracing.
Step 3: Constructing the Frame
- Create the Base: Start by constructing a square or rectangular base using your four corner posts. Ensure that it is sturdy enough to support the height of the obelisk.
- Attach Vertical Posts: Securely attach the vertical posts to the corners of the base. Use screws or wood glue for stability.
- Add Cross Bracing: Install horizontal pieces between the vertical posts at intervals to create a sturdy frame. This cross bracing will support the climbing plants.
- Secure the Structure: Make sure everything is level and square before tightening all screws or glue.
Step 4: Adding Decorative Elements
To enhance the beauty of your obelisk, consider adding decorative elements:
- Lattice Work: Use twine or wire to create a lattice pattern that climbing plants can grasp onto.
- Finials: Add a decorative top piece, like a finial or weather vane, to give your obelisk a finished look.
- Paint or Stain: Apply a wood sealant or paint to protect the obelisk and match it with your garden’s aesthetic.
Step 5: Installing Your Obelisk
Choose a location in your garden where the obelisk will receive ample sunlight and is easily accessible. Follow these steps for installation:
- Dig a Hole: Dig a hole deep enough to secure the base of the obelisk.
- Position the Obelisk: Place the obelisk in the hole, ensuring it is straight and level.
- Backfill the Hole: Fill the hole with soil, packing it tightly around the base to ensure stability.
- Water the Area: Water the soil around the base to help it settle.
Choosing the Right Climbing Plants
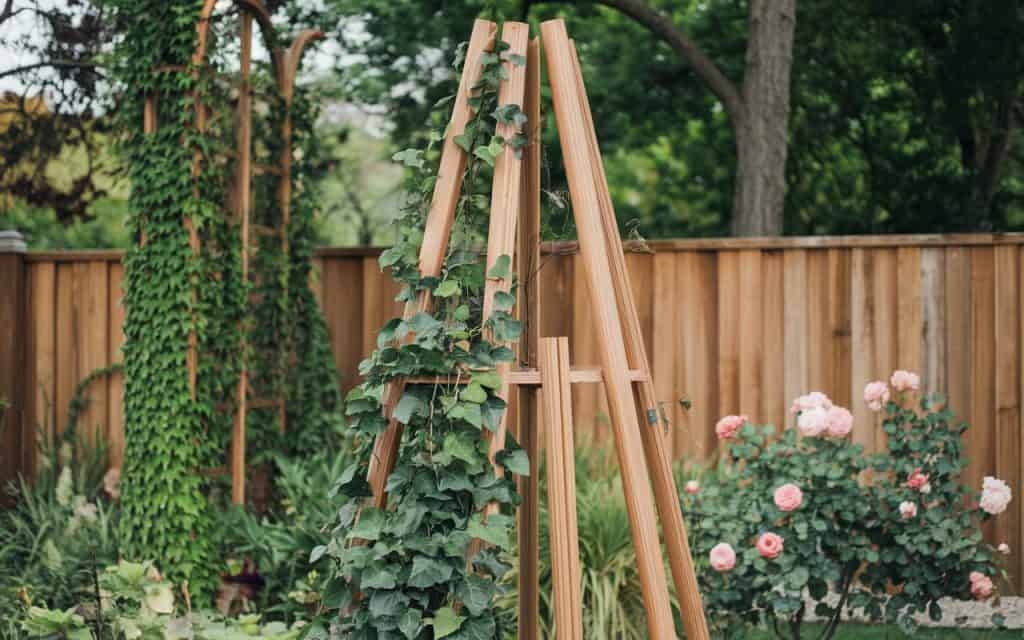
Selecting the appropriate climbing plants is crucial for the success of your obelisk. Here are some popular choices:
- Clematis: Known for their stunning flowers, clematis are versatile and can thrive in various conditions.
- Honeysuckle: With fragrant blooms, honeysuckle attracts pollinators and adds a lovely scent to your garden.
- Sweet Peas: These annual climbers are perfect for adding color and fragrance in the spring and summer months.
- Morning Glory: Fast-growing and vibrant, morning glories are great for covering structures quickly.
- Beans: For a more functional option, consider growing climbing beans that are both edible and ornamental.
Caring for Your Climbing Plants
Proper care will ensure that your climbing plants thrive on your obelisk. Here are some tips:
- Water Regularly: Ensure that your plants receive adequate moisture, especially during dry spells.
- Fertilize: Use a balanced fertilizer to promote healthy growth. Follow the recommended application rates for your specific plants.
- Prune: Regularly prune your climbing plants to encourage bushy growth and remove any dead or diseased stems.
- Monitor for Pests: Keep an eye out for common garden pests and diseases. Use organic pest control methods whenever possible.
Conclusion
Crafting a garden obelisk for climbing plants is a rewarding project that can enhance the beauty and functionality of your outdoor space. With careful planning and execution, you can create a stunning support structure that showcases your favorite climbing plants. Remember to choose the right materials, tools, and plants to ensure a successful gardening experience. Happy gardening!